
First things first. To get started with Resplendent’s SmileBack integration, make sure you have a Resplendent account. If you don’t, you can make one here. Now let’s get started!
Step 1
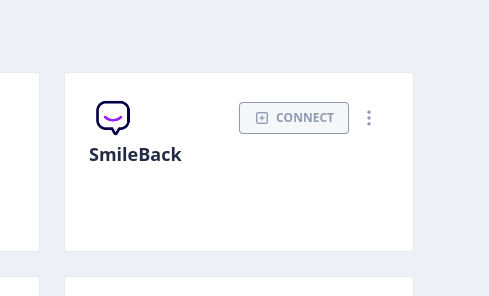
Navigate to the integrations page and click connect on the SmileBack card as shown below:
Step 2
Click sign in and authorize Resplendent to have read access to your reviews.
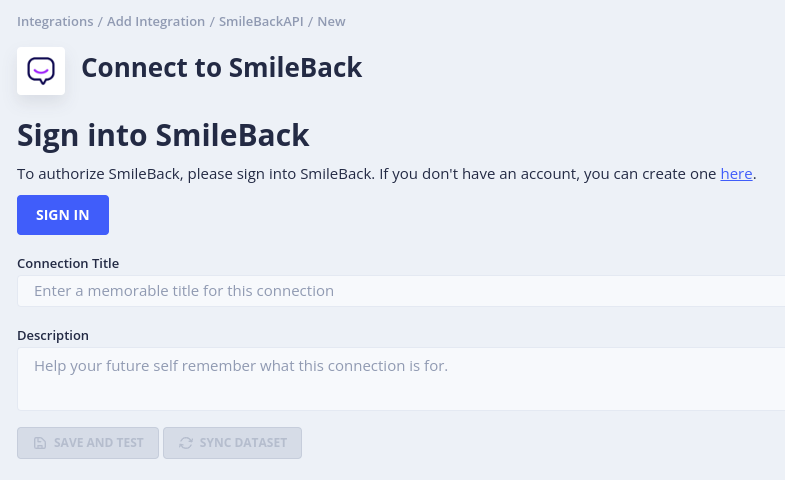
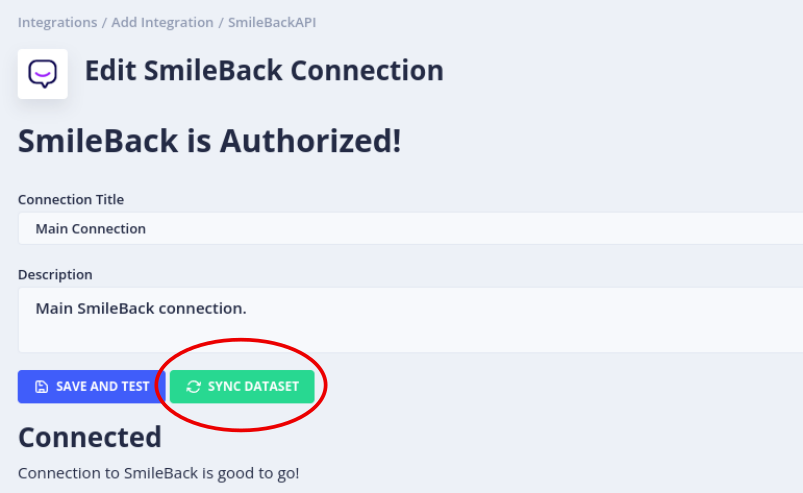
After authorizing, enter a name and description for the connection and click “Save And Test” to finalize the integration.
Step 3
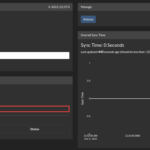
Start syncing reviews to Resplendent by clicking the “Sync Dataset” button and getting to the data studio:
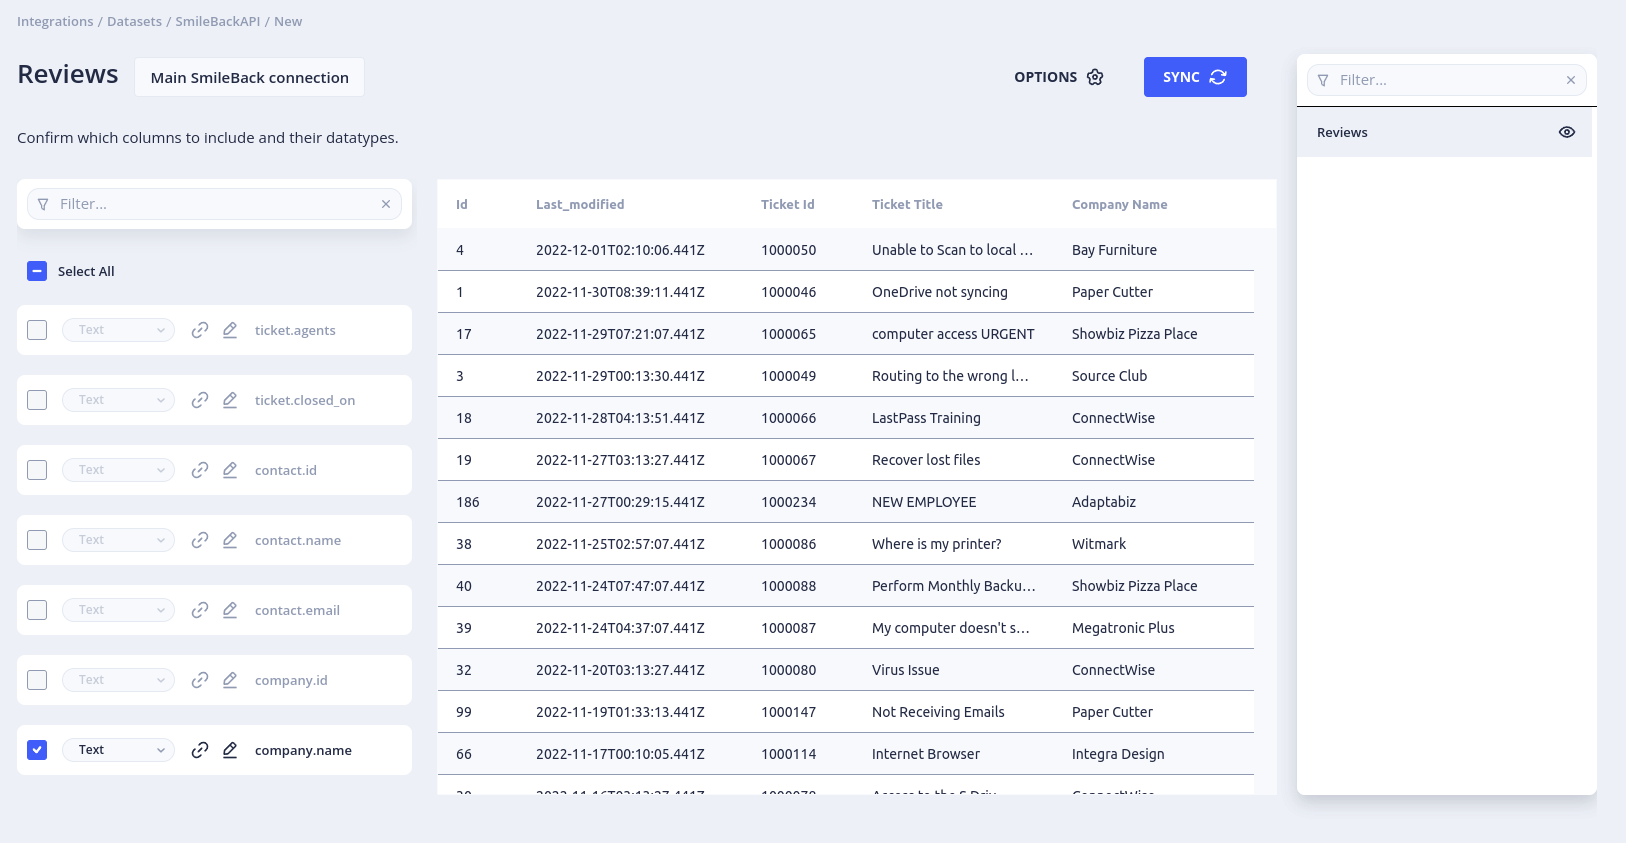
Now that you’re in the data studio, click “Reviews” on the right side to see a preview of the data that’s pulled from the SmileBack integration. Also, choose the columns that you’d like to see on a dashboard.
Finally, click Sync to start pulling data.