1. I created the widget below which was based on the join of schedules, tickets and daily capacity and noticed that there was some odd data for capacity. Specifically that a member showed negative 33.5hrs on a day. As I looked into it I found that ConnectWise creates the entry (PTO in this case) with a start date, end date and scheduled hours. This means I need to spread the scheduled hours across all of the days between the two dates. Luckily we have a Resplendent tool for that! This article will show you how easy it is to do just that.

2. Click “Modified Datasets”

3. Click “ADD MODIFIED DATASET”

4. Select the dataset you want to modify

5. Click “EXPLODE DATE SPAN” tool

6. Click here to edit

7. Click this button.

8. Click “Date Start”

9. Click this button.

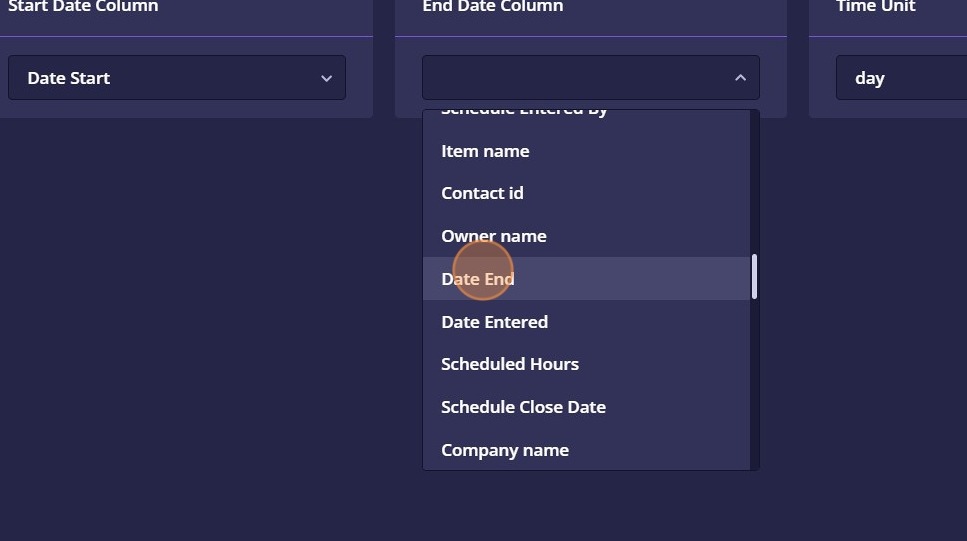
10. Click “Date End”

11. Click this text field.

12. Click “Scheduled Hours”

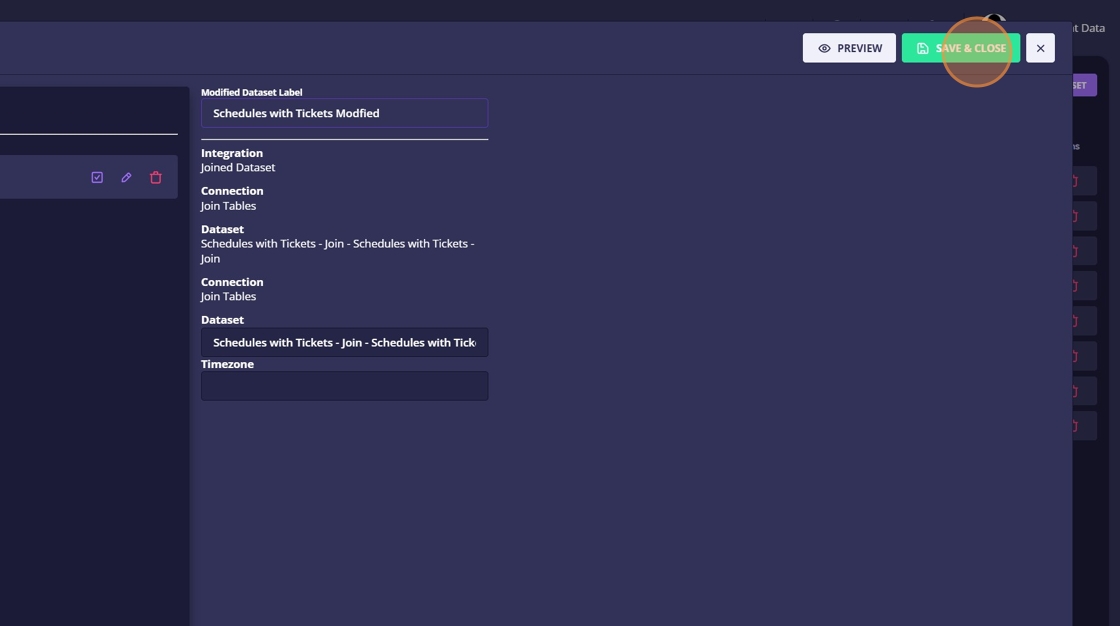
13. Click “SAVE & CLOSE”

14. Give the Modified Dataset a name

15. Click “SAVE & CLOSE”

16. Edit the widget

17. Click on the data source

18. Select the data modifier you just created

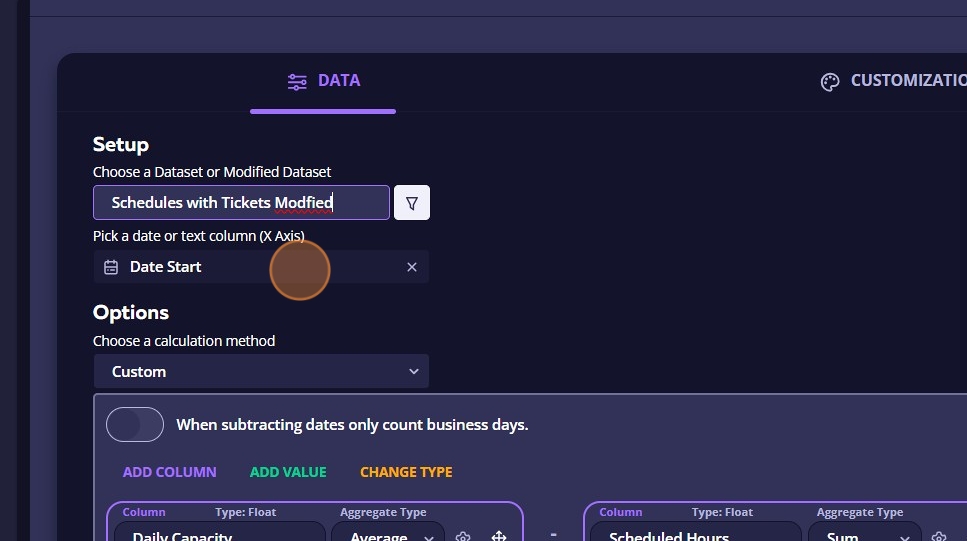
19. Click the “Select a column” field.

20. Select the new field created in the data modifier which is the two date fields combined

21. Click “SAVE & CLOSE”

22. Now my scheduled hours PTO entry has been spread across the date range from the start date to the end date

Made with Scribe