Filter variables are a very powerful way to be able to simplify dashboard creation. They allow you reference a variable in a filter in a widget and then set the value on the dashboard. For example if you want to create a dashboard per client instead of creating the dashboard and making a copy of it and changing the filter value to the next company name you can leverage a filter variable and just change the variable. The variable can be a static list of values that you type in or dynamic based on your data. It can also be a single select (you only want to see one company) or multi-select (to select multiple values). In this article I will walk you through all of those options and how to use them on your dashboard.
Creating a static variable
A static variable can be handy when you don’t want to have a complete list of values (like a list of all of the active companies in your data) and just want to pick from a specific list. Here is how to create one.
1. Click “Data Settings”

2. Click “Filter Variables”

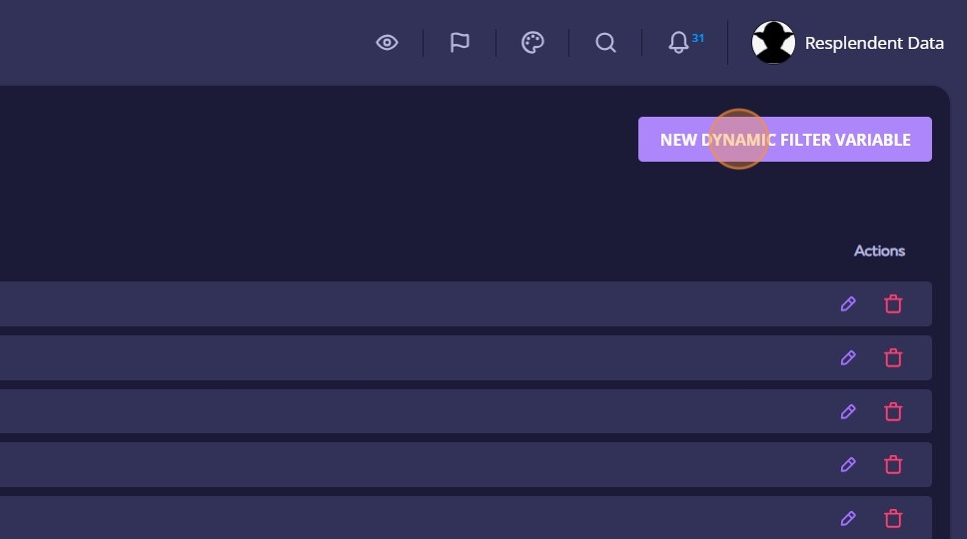
3. Click “NEW DYNAMIC FILTER VARIABLE”
4. Click this text field.

5. Type The name of the variable that you want to create
6. Click variable mode to select either multi or single

7. Click “Single”

8. Click “ADD VALUE”

9. Type the exact name of the company

10. Click “ADD VALUE”

11. Continue entering the next company name
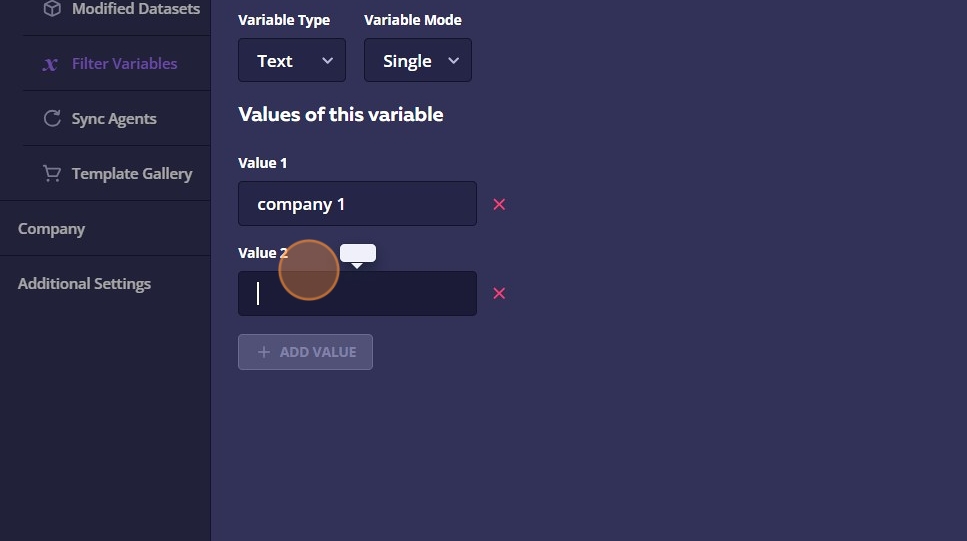
12. Continue for each company that you want to have in the list

13. Click “SAVE & CLOSE” when done

14. That’s it! You have created your first filter variable.
Adding the variable to a filter / dashboard
Now that you have a filter variable you need to add it to a widget. For this example I will use a sample widget that is the count of open tickets that are on the incident board.
1. Navigate to the dashboard that has the widget on it that you want to add the filter
2. Click here to enter edit mode

3. Click here to edit the widget

4. Click here to open the filters dialogue

5. Click “ADD CONDITION”

6. Click the “Enter value” field.

7. select “Company name”

8. Click “Use Advanced”
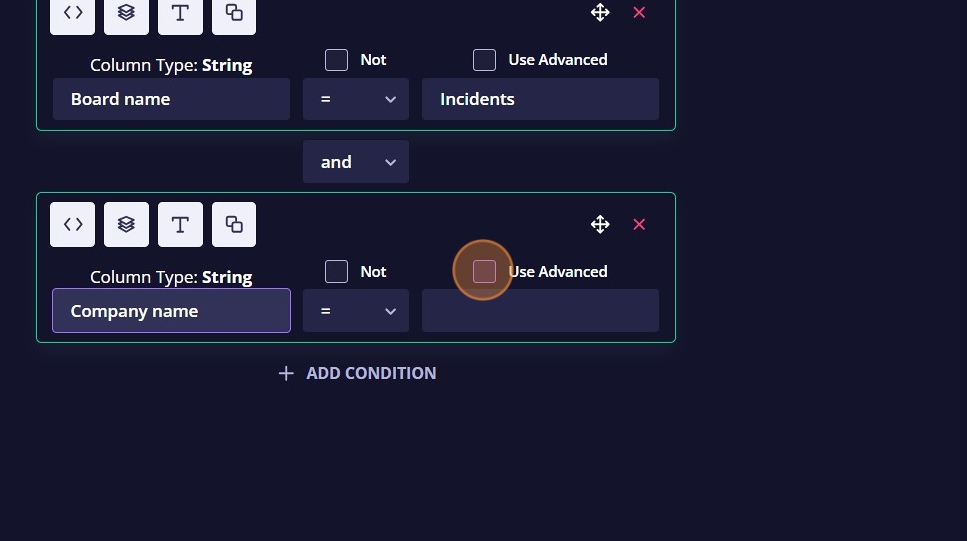
9. Click “Value Type”

10. Select “Dynamic Filter Variable”

11. Click the “Choose a filter variable” field.

12. Select “My Companies” (or whatever variable name you created)

13. Close the dialogue

14. Click “SAVE & CLOSE” on the widget
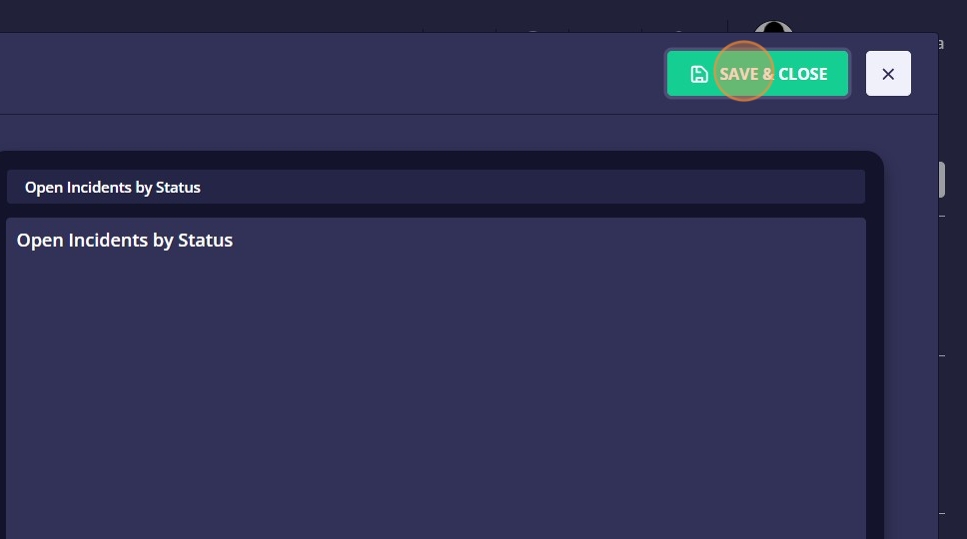
15. Click “SAVE” on the dashboard

16. Now to see your variable Click “x” to open the Filter Variables menu

17. Note: if it says that there are no filter variables defined (usually on the first variable added to a dashboard) you can refresh your browser.
18. Click this text field.

19. Select the company name you want and click “apply variables”

20. If you select “Make Default” the next time you (or anyone else) access the dashboard that will be the variable selected.
Congratulations, you have completed your first dynamic filter variable!
You can follow the same steps above to add the variable to any other widgets on the dashboard to enable you to change one variable to change the company for each of the widgets you have added the variable to.
Next let’s look at making a dynamic filter variable based on your live data. I usually like to make them based off of a modified dataset so that I can have a limited list. Note that if you have applied our templates the variables you are looking for may already exist, but I will walk you through creating one from scratch with an existing modified dataset. Creating and editing modified data sets will be covered in another article.
Creating a dynamic filter variable with multi-select on live data
1. Click “Data Settings”

2. Click “Filter Variables”
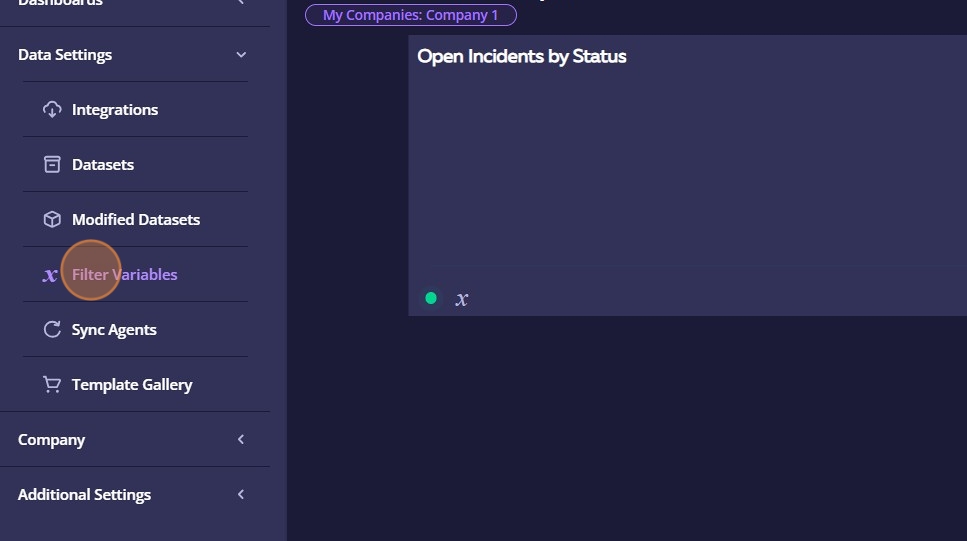
3. Click “NEW DYNAMIC FILTER VARIABLE”

4. Click in the Name field and give it a name. I used “Companies with Recent Invoices”

5. Click on the variable type.

6. Click “Dynamic”

7. Click this text field.
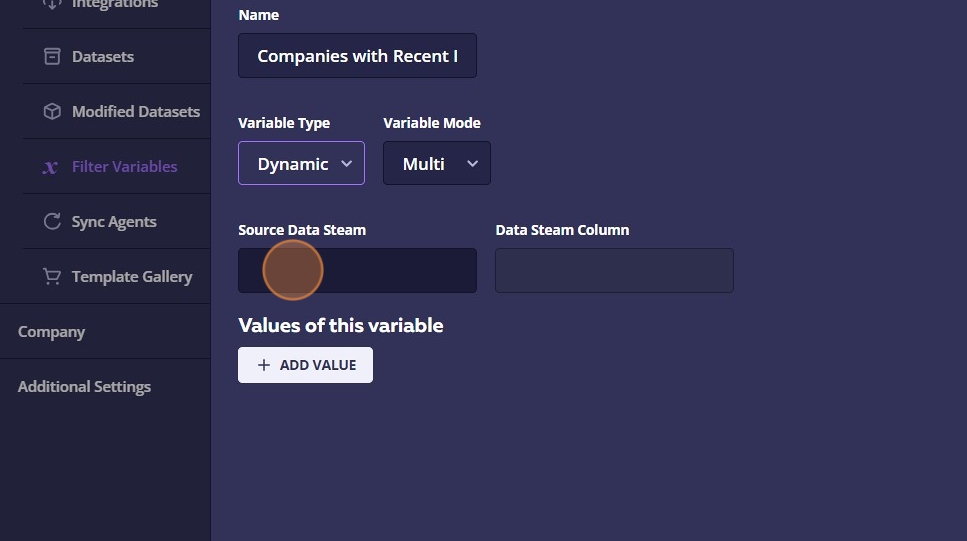
8. I selected “Companies with Invoices” which is a modified data set that is filtered to companies that have had an invoice in the last 12 months. You can start typing in the Source Data Stream field to filter down from all of the available data streams.

9. Click this text field.

10. Click “Company name”

11. Click “SAVE & CLOSE”
