Introduction
The sync agent lets Resplendent customers connect their internal databases to Resplendent without having to expose their databases to the internet. The sync agent is installed in the same local network as the database and can run on the same server as the database or on another machine in the network. The sync agent is installed via Docker, so Docker will need to be installed on your target machine before installing the sync agent.
Prerequisites
- Docker installed
- Tutorial on installing Docker here: https://docs.docker.com/engine/install/
- If the machine you’re installing the sync agent is an Ubuntu machine, you can install Docker by running:
sudo snap install docker - At least 2 GB of RAM
- The sync agent needs to be installed on a machine that has network access to the database
- A read only database user that can login via a password
Step-by-Step
Stage 1: Start the Sync Agent
1. Download the sync agent Docker configuration by running the following command on the server that you’re going to install the sync agent, :
curl -o docker-compose.yaml https://gist.githubusercontent.com/malachibazar/9d765313de5f5aee5d62e8a7fc205e7b/raw/7c14a7356cfb934f201389271676be8903fc2788/docker-compose.yaml
This will download the docker compose configuration.
2. Start the sync agent by running the following command in the same directory:
docker compose up -d
Docker will download the sync agent and setup the service.
Stage 2: Configure the Sync Agent
1. Navigate to your Resplendent account at: https://app.resplendentdata.com
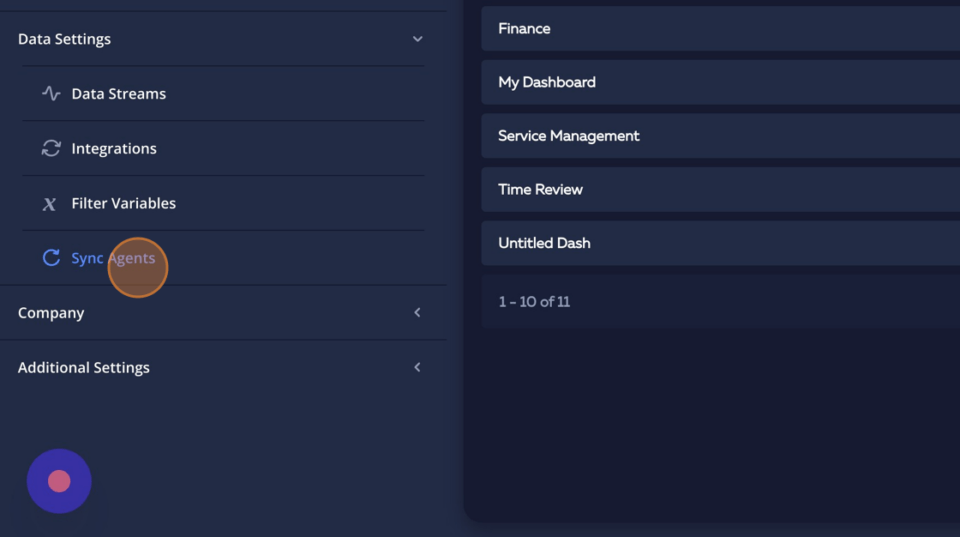
2. Click “Data Settings”
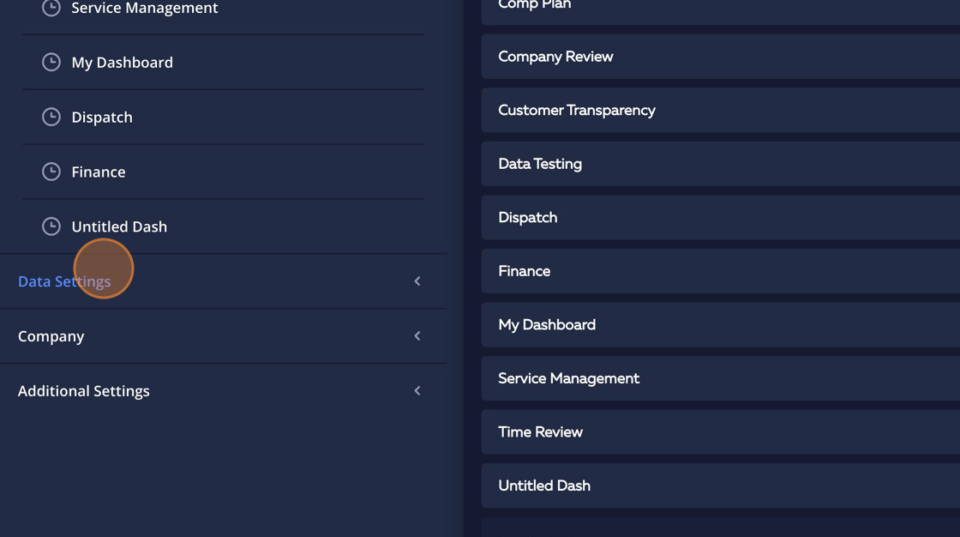
3. Click “Sync Agents
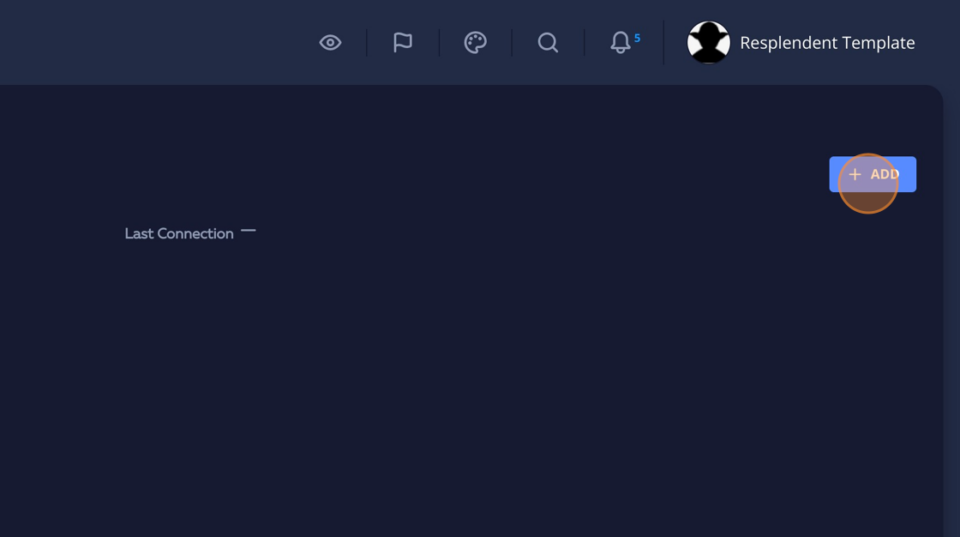
4. Click “Add”
5. Name the Sync Agent
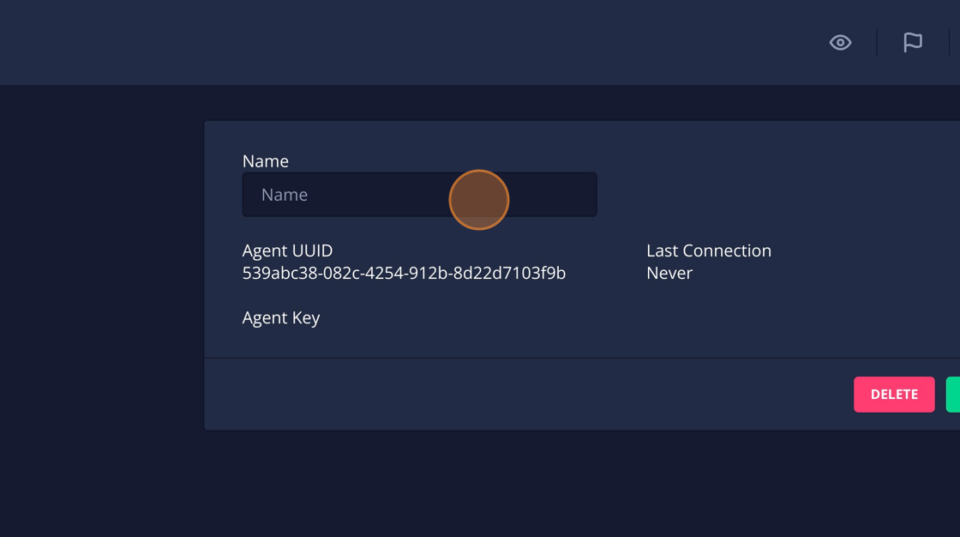
6. Click “Save” and you’ll be provided with an Agent UUID and Agent Key.
7. Go back to the terminal where you setup the sync agent and type nano sync_agent/sync_agent.json. This will open up the sync agent’s config file.
8. Copy and paste the Agent UUID and Agent Key into the “uuid” and “key” properties. It should look something like this:
{

"dbkey": "",

"uuid": "d872b2ab-4f28-4643-8da9-f55cf2b6010e",

"key": "880cfb2b67854b7890d908c562db990b8428be6182a041b5948ed580f48113f8"

}
Connecting a Database
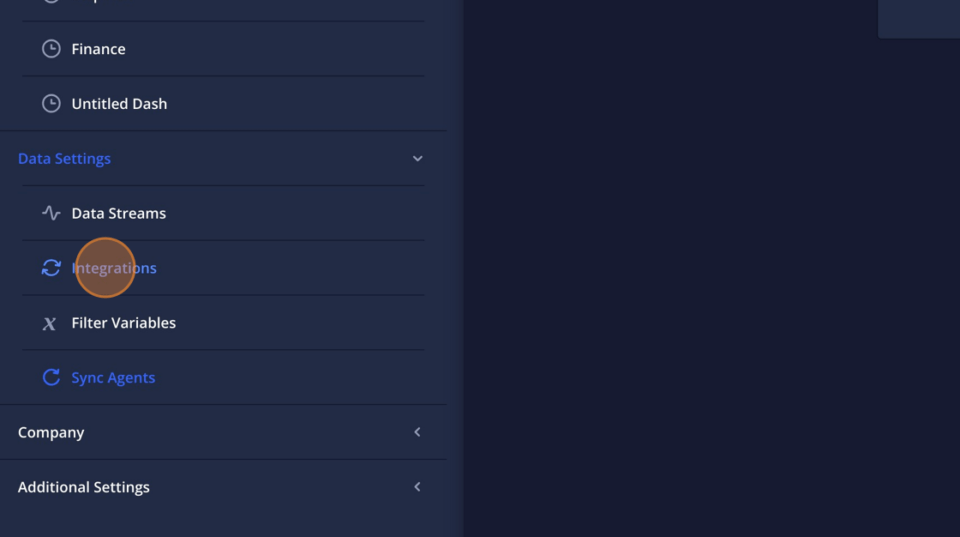
1. In your Resplendent Data account and click “Integrations”
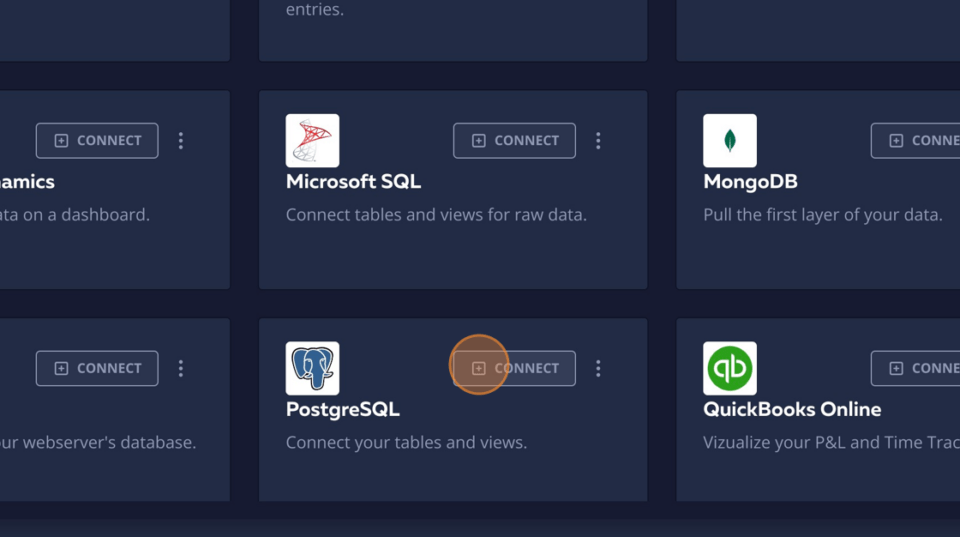
2. Select the on-premise database you want to connect to and click “Connect”
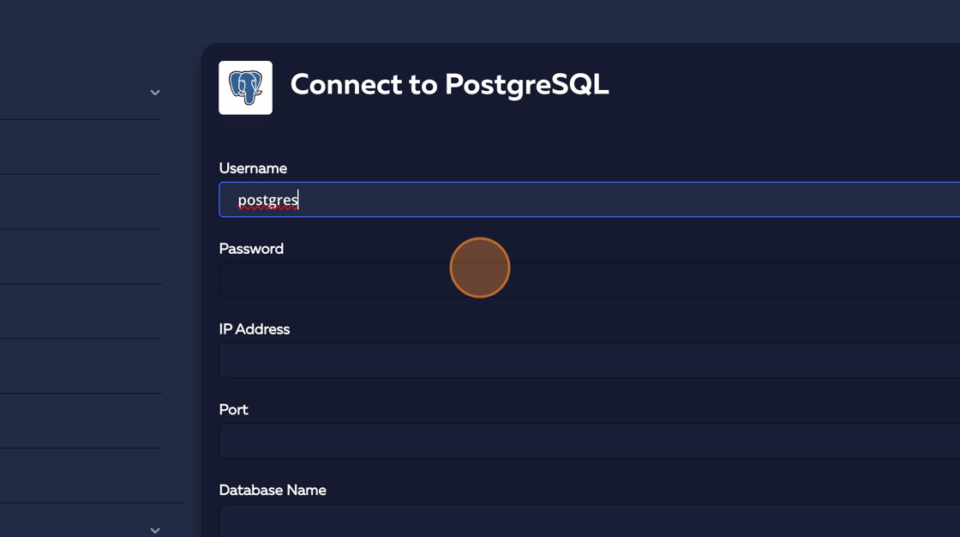
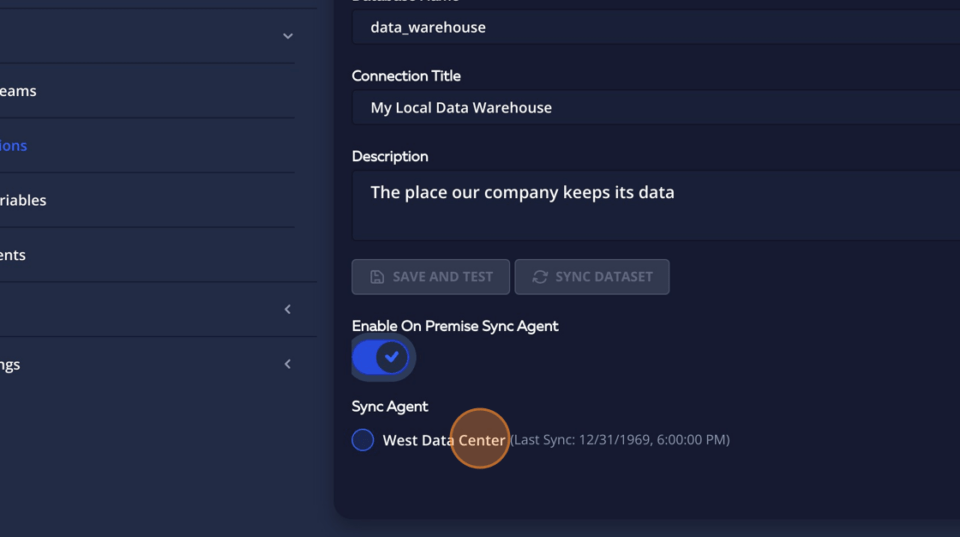
3. Fill out the connection details
4. Click the switch at the bottom of the page to enable on-premise connections
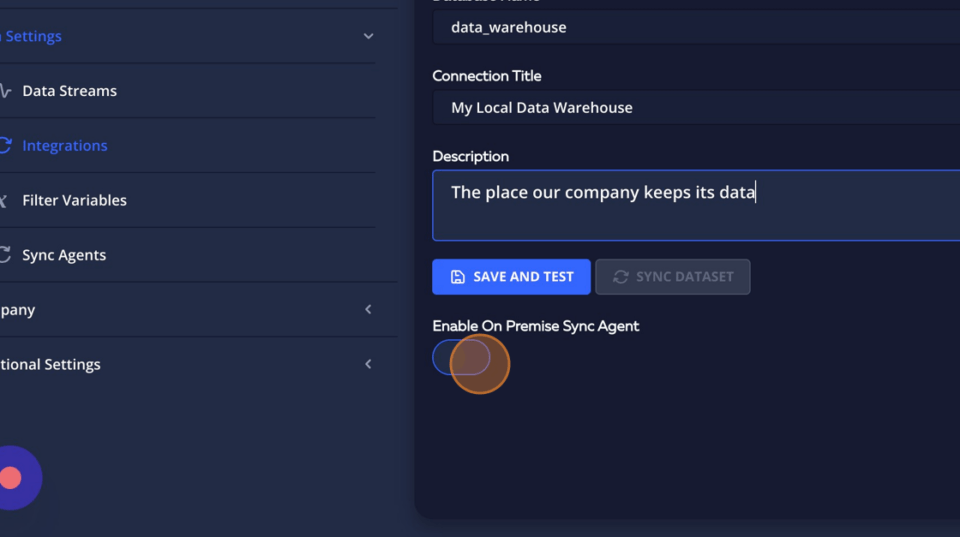
5. Select your Sync Agent and click “Save and Test”
Summary
That’s it! Your Resplendent Data account is now connected to your custom data source and ready for use in widgets and dashboards for all your data magic needs.